
Sunday, November 27, 2011
June through September
Russian Sweet Milk Cake
 |
| Russian Sweet Milk Cake |
This is not a fancy cake like we usually make, but if you like caramel, it just might be on your list of favorites too!
Friday, November 25, 2011
Another Baby Shower and Another Baby Bottom Cake

The other day, we were watching a part of a Cake Boss show and they actually made one of these!! (Maybe they are more popular than I thought!) The neat thing they did for this shower was - they used the cake color to tell the couple whether they were having a boy or a girl!! But since the outside of the cake could not give away what it was, they didn't put a skirt or a blanket on the baby bottom... personally the skirt / blanket adds SOO much!
Thanks for looking!!
Tuesday, November 22, 2011
Angry Birds Cake Contest Update
Today we received an email telling us we won 4th place in the Angry Birds Contest on Cake Central. They asked for our address and other information and will be mailing us a certificate. We actually won with the second cake we made (when we were tired and took a few shortcuts)... We almost did not make the second cake, but since we had already baked the cake and had the fondant made, we went ahead with it. We stayed up until 11:00 to finish, then took pictures and rolled in bed around midnight. I guess it was worth it! Here is a link to Cake Central and the Angry Birds Contest - http://cakecentral.com/contests/angry-birds-cake-contest/
Monday, November 21, 2011
Angry Birds Cakes
Cake Central put up a competition using Angry Birds as the theme. The only problem about entering a Cake Central competition is... it is an international community with professional decorators. We decided to try it anyway for fun!! We also each have an account on Cake Central to save and share photos, so we decided to enter two cakes.
For these cakes we made a new cake recipe we found on Cake Central. This recipe is really flavorful, moist and tasty! It took a few tries to figure it out, but we now have a GREAT new recipe!! We also experimented with 4 fondant recipes. We even had a taste test!! The four kinds were: Wilton premade, marshmallow, completely from scratch, and a powder fondant that someone gave us (thanks Dana). It was interesting that we ALL picked different fondants as far as taste, but they did not all work the same when covering cakes and working with them. The marshmallow fondant was extra rubbery, the scratch recipe and powder fondants were crumbly, and the Wilton was the easiest to work with. It is hard to experiment on cakes that you make for someone else, so this was a good time to make and compare.
Cake #1 is a structure from I - 2 on Angry Birds. The cake is an almond butter cake covered in frosting and fondant. The brown fondant is a chocolate fondant. The structure is rice krispie cookies covered in fondant. The sling shot is gum paste with a little fondant and painted in a cream cheese frosting to make it look like wood. The birds and the pigs are made with fondant. We also made a background made to look like the background of the game.
Cake #2 is a stacked cake with three tiers. Each side represents a different level of Angry Birds. Everything is hand made using fondant and gum paste mixtures. The topper is gum paste painted with food coloring and/or food writers.
We joked that these were "The Cakes that NEVER End..." because they took so long and we thought we would NEVER finish them! Enjoy the pictures below, you can see more at: http://www.facebook.com/pages/Cakes-by-the-Sugar-Cains/112478982183338
 |
| Angry Bird Cake #1 |
 |
| Angry Bird Cake #2 |
 |
| Angry Bird Cake #2 |


Saturday, November 5, 2011
Baby Shower - Baby Bottom Cake
 |
| Baby Bottom - Baby Shower Cake |
We didn't have much time, but we started looking online at a lot of different ones, tutorials, etc... and decided on things we did and did not like. There are several changes we will make if we ever do one again, but we were mostly happy with the results.
The cake is a vanilla cake with butter cream frosting. There was suppose to be filling, but I forgot, so I sent some filling with her. LOL (This getting old and my bad memory is for the birds!!) The baby bottom is chocolate cake with butter cream and fondant covering it. The legs are rice krispy cookies covered in thick fondant. The dots, skirt, ribbon and bow are fondant and the writing is butter cream.
It was nice for Joy and I to be able to work together on this cake. Many of the last few cakes were either just me working on them, or we worked on separate things at separate times. We love making cakes together and the challenge of figuring them out with the best way to do something! We make a great team together and always have a lot of fun!! Thanks for stopping by!

Sunday, October 30, 2011
A Pie? or a Cake?
 |
| Raspberry 'Pie' Cake |
A few years ago, Joy made some cupcakes that looked like pies. So, I decided this year. to make a cake that looked like a pie (for those that would rather have cake and not a pie.)

Thanks for looking!
Saturday, October 15, 2011
Simple Blue Fondant Cake with Gum Paste Roses
 |
| Simple Blue Birthday Cake |
 |
| White Roses |
Since my husband went south for the ordination of a good friend, we were able to have the Netcaster Team come to our church for the week. Evangelist Jonathan Barber is preaching for our services and has been a tremendous blessing. The team has jumped into a lot of places (Children's Church, music, outreach, office work, etc) and we are so grateful for their help!
Jonathan's wife Rebecca's birthday was this Saturday, October 15. Joy wanted to make her a birthday cake, so she asked Jon what her favorite flowers were, her favorite color, and her favorite cake and frosting. We were happy she likes roses, because Joy is great at making roses! The roses you see here are gum paste roses with leaves also made of a light green gum paste.
The cakes are triple chocolate fudge (fudge cake, chocolate pudding, and mini chocolate chips) and the frosting is a fudge frosting recipe I found on CakeCentral.com. It is a cooked frosting, similar to a fudge recipe, that worked GREAT! Blue fondant covers the chocolate cake and white lace was added to give it more of an elegant look. Although the whites did not match exactly (like I wanted them to) we were happy with the finished product of the cake!
We look forward to the Netcasters Team coming back in May!!

Basket of Apples Cake

 |
| Basket of Apples Cake |

The first picture on the top left was taken just before we planned to leave for the bonfire. I still had to 'paint' the apples, but I was simply going to do that as Becca drove us out to the bonfire. The bumps on the road were TOO stressful on the basket and one side of the basket broke open. Next time we will make the cake denser and then put dowel rods from the apples down into the cake. This will help hold them up and keep them from putting as much pressure on the basket walls as possible.
The cake I made for this was a marble cake with chocolate frosting. This way you also see brown between the cracks of the basket!


David's Softball Birthday Cake
 |
| baseball cake |

David again wanted a chocolate cake with royal frosting covering his whole cake. He LOVES royal frosting!! So this is a simple chocolate cake made in the ball pan. White royal frosting is star tipped to cover the ball, green royal frosting is made to look like grass, and the laces are red royal frosting using the writing tip. The hardest part of this cake is piping the lowest part of the ball, because you are putting on stars at a weird angle since the table gets in the way a bit! Over all, it was a great cake to make!! Happy Birthday David!
Monday, September 26, 2011
White Wedding Cake and Boot Groom's Cake
 |
| Wedding Cake with Calla lilies |
Christina and Brandon ordered a solid white cake with fondant and pearls, and with gum paste callalilies on top. It was not a hard order... the only problem was, we knew Joy would not be home to help with it. I did not know if I could do it or not, and my friend Chantelle (and Christina's sister) was so confident in me - more confident than I was! They also wanted a boot cake that was 3 dimensional. After studying the pictures she found online and talking to Joy about the different techniques and whether I could do it by myself, I decided to do it.
I always begin shopping 3 weeks before the wedding to find the best sales on each item each week. Then the house is cleaned top to bottom and the pets 'quarantined' to two rooms away from the kitchen or they can go down to the basement. Thursday I started baking and decorating the groom's cake and actually had it covered in fondant and the wooden floor completed. On Friday morning the major baking started. As each cake cools, it is filled, frosted, and stacked and ready for fondant, as other layers are baking.
 |
| Traditional White Wedding Cake |
The boot was a fun cake to make. Unfortunately, I forgot a camera in moving everything from the house to the reception, so the pictures you see are taken with a cell phone. You can't really see the sewing and design work that I put on it, but you can get the main idea. The wooden floor is fondant rolled thin and 'painted' to look like wood. It is actually a different brown than the boot - a reddish brown... so it wouldn't blend into the boot (which it looks like here.) The reception was very beautiful... one of the most elegant I have ever seen!
It took well over 50 hours of shopping, baking, NS decorating to complete these cakes - not counting the hours spent studying techniques, searching similar designs, etc. This was the biggest cake I have ever made to date. I had to work through a few problems (no cake is without some problems coming up)... but the biggest lesson I learned through this wedding cake experience... never do a wedding cake without Joy!! We truly are a team and work well together. I missed her ideas, thoughts, talents, etc through the whole experience!! Thanks for looking!!!
 |
| Boot Cake on Fondant Wooden Floor |
Friday, September 16, 2011
Scrapbook Cake
 |
| Scrapbook Cake |


This cake was mostly designed by Monte. He looked online and found the potato paper, that you can print on with edible ink. He ordered it and printed the pictures for us. He also asked for a scrapbook with things like: the
Green Bay Packer Logo, a smiley face, a lilly, and
 |
| Scrapbook Cake with Edible Pictures! |
The Green Bay Packer Logo is made by hand with fondant. The smiley face is also made by hand with fondant. The Lily is made with gum paste and food coloring. The Albanese gummy bears are made with Stampin' Up stamps on potato paper with food writers and/or food coloring. The coffee cup is also made the same way. The flowers at the bottom of the scrapbook page is also Stampin' Up stamps on fondant. The cover of the book is fondant and potato paper. This was a fun cake, but took a LOT of time to complete... more than we expected!!
Happy UNbirthday Sandy!!
Tuesday, September 13, 2011
Flowered Wedding Cake and Hawkeyes Groom Cake
 |
| Wedding Cake with Gum Paste Flowers |


Eric designed the groom's cake. His college team is the Iowa Hawkeyes and he wanted their football field for the cake. We started looking online to see how other people made football field cakes. We learned quickly that most women made these cakes and they were misshaped and not to scale.
We felt pretty much on our own and discussed several options to making a football field.
 |
| Iowa Hawkeye Cake |
Thanks for looking and please leave us a comment!
Monday, July 18, 2011
Purse Cake
 |
| Purse Cake |

This is a purse birthday cake for Michelle M. Sandy planned a fun day and surprise for her good friend Michelle... This was the birthday surprise (all she knew was that it was going to be edible.) Sandy told us she would cry, and she sure did!! I think one of the neatest things about making cakes is being able to give them to people.
The cake is funfetti cake with pink and black food coloring to make the cake match the fondant and frosting colors. The purse was then cut, stacked, shaped, frosted, and covered in pink fondant.

The tiger stripes and flap are made from black fondant. The purse handle was made in advance to allow it plenty of time to dry, so it would stand up nicely. If you can click on the photos you may be able to see a large picture and also see the 'seam' work on the handle and flap.
The flower is a briar rose and made with gum paste. The center of the flower is not edible.
The cell phone is an almost exact replica of Michelle's phone. The picture is not edible but done using a computer program (thanks to Becca)! The name 'Sophie' is the name Michelle has given her phone!!
The lipstick is made from fondant and painted with edible gold, silver, and pink food coloring. The lipstick is Mary Kay and you can even see the MK on the top.
The gum package, mirror, compact case, and finger nail polish are all made from fondant and also painted on. The Orbit gum is written on with food writers (edible markers). In the picture at the bottom, you can see the objects we used to make our 'fondant' items.

The board is covered in fondant to look like a tile counter top. It was painted with food coloring and butter flavoring and blotted with a paper towel for a tile look.
This has been one of our favorite cakes to make and give away too!! Michelle was so excited and very appreciative to Sandy and us!!
Tuesday, July 5, 2011
Joseph's Birthday Cake 2011
 |
| Clavinova/Keyboard Cake |
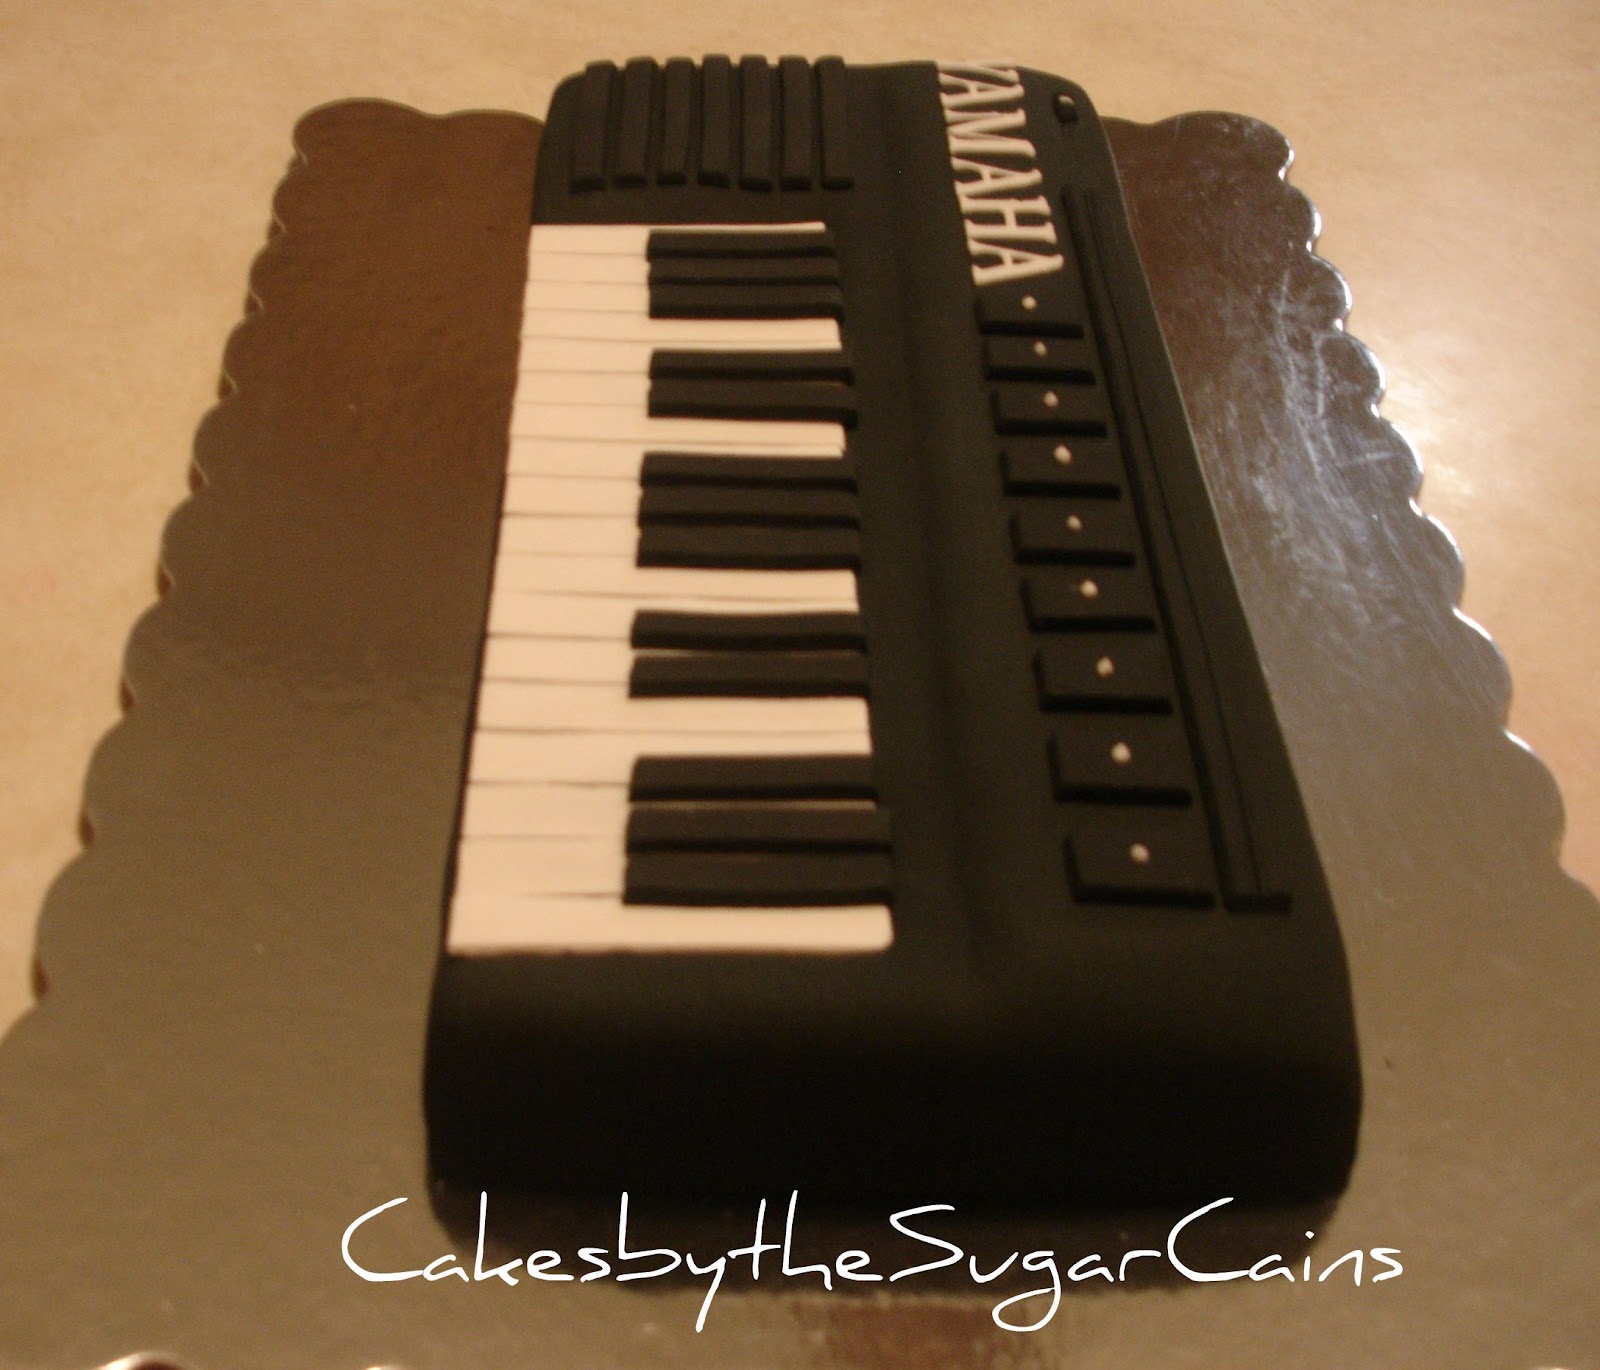
Joseph wanted chocolate cake, so Joy made a recipe ("Darn Good Chocolate Cake") from one of her newer cookbooks It was baked in a 9x13 pan, then cut and shaped to size. We frosted it with simple butter

HAPPY 20th BIRTHDAY JOSEPH!!
Friday, June 24, 2011
Gum Paste Flowers

 |
| Gum Paste Flowers |
 We also experimented with a torte style cake. We had a little raspberry filling left from the wedding cake and didn't want it to be wasted. When I saw a torte at Sam's the day before, I decided we would make some to put our lilies on. The cake is a butter yellow cake and the frosting is our homemade Mock Whipped Cream. Sam's leaves the sides open so you can see the layers, but I am not so sure I like seeing the sides! I might cover the sides next time with the frosting and see how it works! I actually ran out of frosting and couldn't even pipe all the way around!
  |
| Gum Paste Lilies |
Sunday, June 12, 2011
Wedding Cake and Groom's Cake
 |
| Non-traditional Topsy Turvy Wedding Cake |
Annie chose a Lollipop Topsy Turvy cake to go along with a lollipop theme for the reception. She had four tiers, so she chose lemon cake (with lemon curd filling & lemon cream cheese frosting), white chocolate cake (with raspberry filling & white chocolate frosting), red velvet cake (with cream cheese frosting), and orange cake (with orange cream cheese frosting). She also wanted a sheet cake of a chocolate cake and butter cream frosting.
The wedding cake is covered in fondant with fondant shapes. The 'Lollipops' on top are made from gum paste and one has a monogram P for their last name. She wanted a non-traditional cake that would match her reception theme. I wish I would have gotten a few pics of the tables, because she did a great job of planning and putting it all together!
 |
| Cake Table |
 |
| Tackle Box Cake |


The groom's cake is a tackle box made with chocolate cake and chocolate frosting, and fondant covering it. This cake was a real challenge. We wanted to make see-through plastic looking panels like Phil's tackle box, but the humidity made the rock candy sticky and unpredictable. We threw that plan out the window early Saturday morning and did a little redesigning! The drawer, bobber, fish string, hooks, fish lures, etc. are made with gum paste. The styrofoam cup and worms in the cup are made of fondant, with a cup cake inside and ground cookies on top. The wooden 'dock' is fondant painted with food coloring and butter extract. .The red worms were made with a recipe for gum drops poured into a mold. The fish string has writing on it using markers that have food coloring in them!
Thanks for stopping by and looking at our cake blog. Be sure to sign up for updates to our blog!
Subscribe to:
Posts (Atom)